Installation
Installation
Prerequisities
- you will need NodeJS installed, version 18 or higher
Creating a PIXI project
- in your empty directory, initialize a new project by typing
npm init - install ParcelJS bundler by typing
npm install --save-dev parcel- note: we use Parcel for our examples, but you can use any bundling tool of your choosing (Webpack or Vite)!
- install PixiJS library by typing
npm install pixi.js- install a Pixi Loader that is bundled separately since version 6:
npm install @pixi/loaders
- install a Pixi Loader that is bundled separately since version 6:
- your
package.jsonshould look like this (the version numbers can differ):
{
  "name": "my-project",
  "version": "1.0.0",
  "description": "",
  "main": "index.js",
  "scripts": {
    "test": "echo \"Error: no test specified\" && exit 1"
  },
  "author": "",
  "license": "ISC",
  "devDependencies": {
    "parcel": "^2.10.0"
  },
  "dependencies": {
    "@pixi/loaders": "^6.5.10",
    "pixi.js": "^7.3.2"
  }
}
- install a plugin for copying static files during hot-reload:
npm install -D parcel-reporter-static-files-copy - create a
staticdirectory in the root folder of your project - create a file
.parcelrcin the root folder of your project and add the following statement (the...must be there, indeed):
{
  "extends": ["@parcel/config-default"],
  "reporters":  ["...", "parcel-reporter-static-files-copy"]
}
get a picture and copy it into your static folder (e.g. creature.png)

Installing COLFIO library
- install COLFIO library by typing
npm install colfio - create two folders:
srcandview - create a file
index.htmlin yourviewfolder with the following content:- this file will be referencing our script file
<!doctype html>
<html>

<head>
    <meta content="text/html;charset=utf-8" http-equiv="Content-Type">
    <meta content="utf-8" http-equiv="encoding">
    <title>My project</title>
</head>
<style type="text/css">
    body {
        background-color: black;
    }
</style>

<body>
    <canvas id="gameCanvas"></canvas>
    <script type="module" src="../src/my-game.ts"></script>
</body>

</html>
- create a file
my-game.tsin yoursrcfolder with the following content:
import * as CF from 'colfio';
import * as PIXI from 'pixi.js';
import { Loader } from '@pixi/loaders';
class MyGame {
engine: CF.Engine;
constructor() {
this.engine = new CF.Engine();
let canvas = (document.getElementById('gameCanvas') as HTMLCanvasElement);
// init the game loop
this.engine.init(canvas, {
resizeToScreen: true,
width: 800,
height: 600,
resolution: 1,
});
const loader = new Loader();
// using PIXI loader, load all assets
loader
.reset()
.add('creature.png')
.load(() => this.onAssetsLoaded());
}
onAssetsLoaded() {
// init the scene and run your game
let scene = this.engine.scene!!;
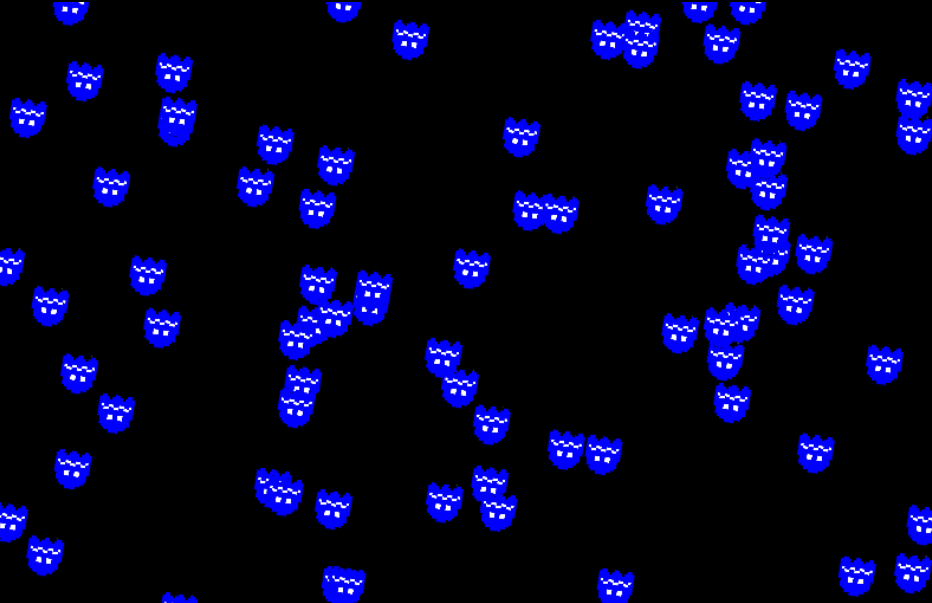
// a little hack that generates a loop with 100 runs
Array(100).fill(0, 0, 100).forEach(() => {
new CF.Builder(scene)
// random position anywhere in the scene
.localPos(Math.random() * this.engine.app!!.screen.width,
Math.random() * this.engine.app!!.screen.height)
.anchor(0.5)
.scale(0.15)
.withParent(scene.stage)
// create a functional component that will increase the rotation every single frame
.withComponent(new CF.FuncComponent('rotationAnim')
.doOnUpdate((cmp, delta, absolute) => cmp.owner.rotation += 0.001 * delta))
.asSprite(PIXI.Texture.from('creature.png'))
.build();
});
}
}
// this will create a new instance as soon as this file is loaded
export default new MyGame();
- the very last thing would be to create a script that will make parcel build and run the project. Edit the
package.jsonfile and replace the currentscriptssection with this one:
  "scripts": {
    "dev": "parcel view/index.html",
    "build": "parcel build view/index.html"
  },
npm run devwill run a development server. You can now navigate to the urlhttp://localhost:1234/index.htmlto see the examplenpm run buildwill build your project into thedistdirectory